Table of Contents
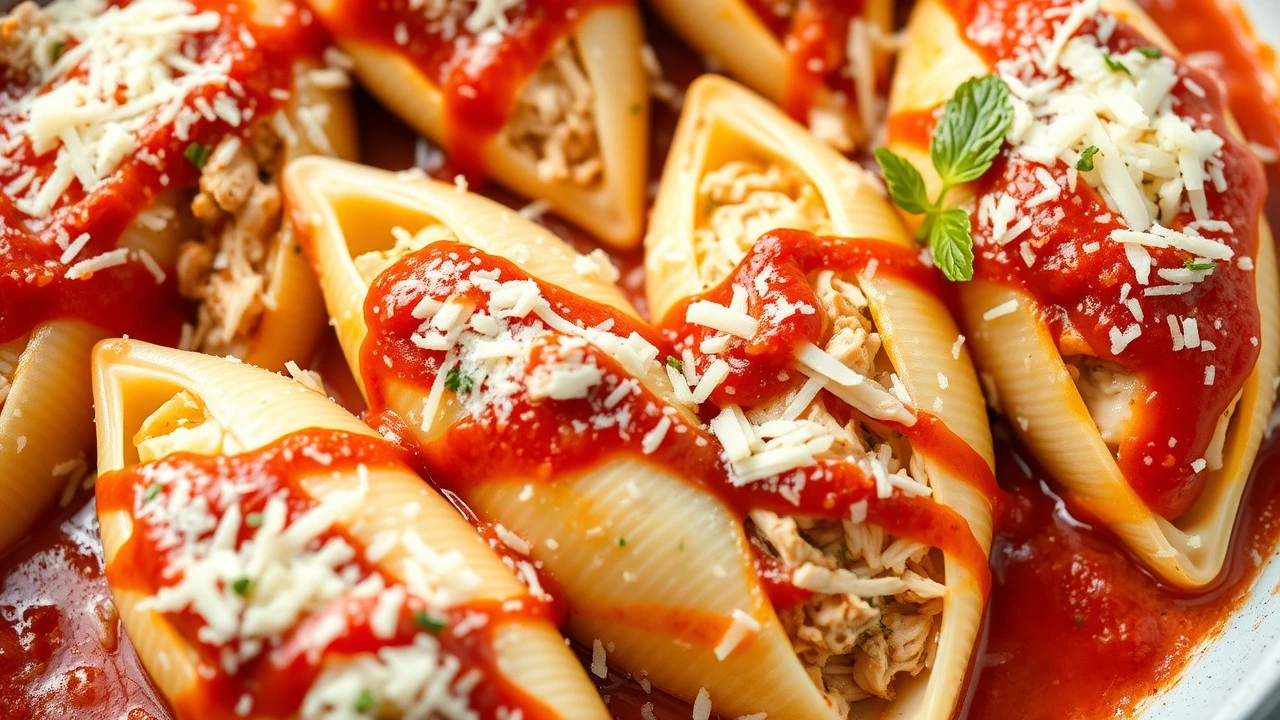
Are you searching for a hearty and satisfying dinner that the whole family will love? Look no further than this mouthwatering chicken stuffed shells recipe! This delightful dish features large pasta shells filled with a creamy, cheesy chicken mixture, all topped with a savory sauce. Whether you’re feeding a crowd or just your immediate family, these stuffed shells are sure to impress. In this guide, we’ll take you step-by-step through the recipe, share tips for making it your own, and even explore variations to keep things exciting. Let’s dive in!
A Brief History of Stuffed Shells
Stuffed shells, or conchiglie ripiene, are a staple of Italian-American cuisine. Originating from Italy, this dish showcases the rich tradition of pasta-making that has been passed down through generations. It is believed that stuffed pasta dishes were created as a way to use leftover ingredients creatively. Today, stuffed shells have become synonymous with comfort food, often gracing dinner tables across America.
Why You’ll Love This Chicken Stuffed Shells Recipe
- Deliciously Flavorful: Each bite is bursting with flavor, thanks to the combination of chicken, cheese, and aromatic herbs.
- Family-Friendly: Kids and adults alike adore cheesy pasta dishes, making it a perfect meal for family gatherings.
- Versatile: You can customize the filling to include your favorite ingredients, such as spinach, mushrooms, or even different cheeses.
- Make-Ahead and Freezer-Friendly: These stuffed shells can be prepared in advance and frozen for a busy weeknight meal.
Key Ingredients for Chicken Stuffed Shells Recipe
To create the perfect chicken stuffed shells recipe, you’ll need the following ingredients:
| Ingredient | Description |
|---|---|
| Pasta Shells | Large conchiglie shells that hold the filling. |
| Chicken | Shredded or diced cooked chicken (rotisserie works well). |
| Cheese | Ricotta, mozzarella, and Parmesan cheese for a creamy filling. |
| Sauce | Your choice of marinara or Alfredo sauce. |
| Herbs and Spices | Fresh basil, oregano, and garlic to enhance flavor. |
| Optional Ingredients | Spinach, bell peppers, or mushrooms for added nutrition. |
Equipment Needed
Before you start cooking, gather the necessary kitchen tools:
- Baking Dish: A 9×13-inch dish is ideal for holding the stuffed shells.
- Pot: For boiling the pasta shells.
- Mixing Bowls: To prepare the filling and combine ingredients.
- Spatula or Spoon: For mixing the filling and stuffing the shells.
Preparation Steps
Step 1: Prepare the Filling
- Cook the Chicken: If you haven’t already, cook your chicken. You can grill, bake, or use leftover rotisserie chicken for a quick option.
- Mix the Ingredients: In a mixing bowl, combine the cooked chicken, ricotta cheese, half of the mozzarella, grated Parmesan cheese, chopped fresh basil, oregano, and minced garlic. Mix until well combined. Add salt and pepper to taste.
Step 2: Boil the Pasta Shells
- Boil Water: Bring a large pot of salted water to a rolling boil.
- Cook the Shells: Add the pasta shells and cook them according to package instructions, usually about 9-11 minutes, until al dente. Take care not to overcook them, as they’ll continue cooking in the oven.
- Drain and Rinse: Once cooked, drain the shells and rinse them under cold water to stop the cooking process. Set aside.
Step 3: Assemble the Stuffed Shells
- Preheat the Oven: Preheat your oven to 375°F (190°C).
- Prepare the Baking Dish: Spread a thin layer of your chosen sauce (marinara or Alfredo) on the bottom of the baking dish.
- Stuff the Shells: Using a spoon, carefully fill each pasta shell with the chicken and cheese mixture. Place the filled shells in the baking dish, opening side up.
- Top with Sauce: Once all the shells are filled, pour the remaining sauce over the shells, ensuring they are well covered. Sprinkle the remaining mozzarella cheese on top.
Step 4: Bake the Stuffed Shells
- Cover with Foil: Cover the baking dish with aluminum foil to keep the moisture in.
- Bake: Place the dish in a preheated oven and bake for 25 minutes.
- Uncover and Brown: After 25 minutes, remove the foil and bake for an additional 10-15 minutes, or until the cheese is bubbly and golden.
Step 5: Serving Suggestions
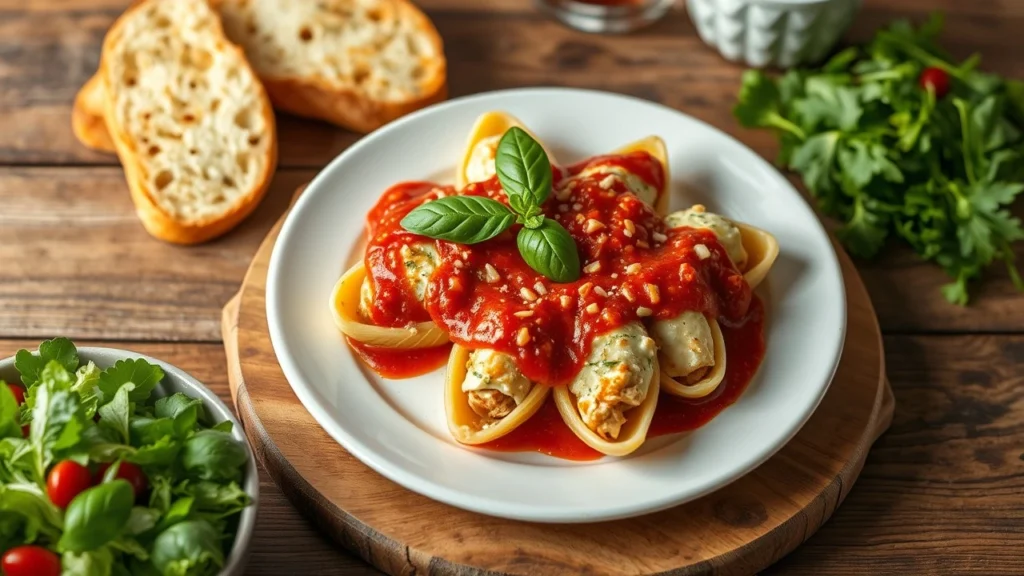
After removing from the oven, let the stuffed shells cool for a few minutes. Serve alongside a side salad and garlic bread for a complete meal. For an extra touch, sprinkle some fresh basil or parsley on top before serving.
Variations on Chicken Stuffed Shells Recipe
One of the best aspects of this chicken stuffed shells recipe is its versatility. Here are some creative variations to try:
Cheesy Chicken Stuffed Shells Recipe
If you can’t get enough cheese, add extra layers! Mix in some shredded cheese like cheddar or provolone into the filling and top the shells with a blend of cheeses for an extra cheesy delight.
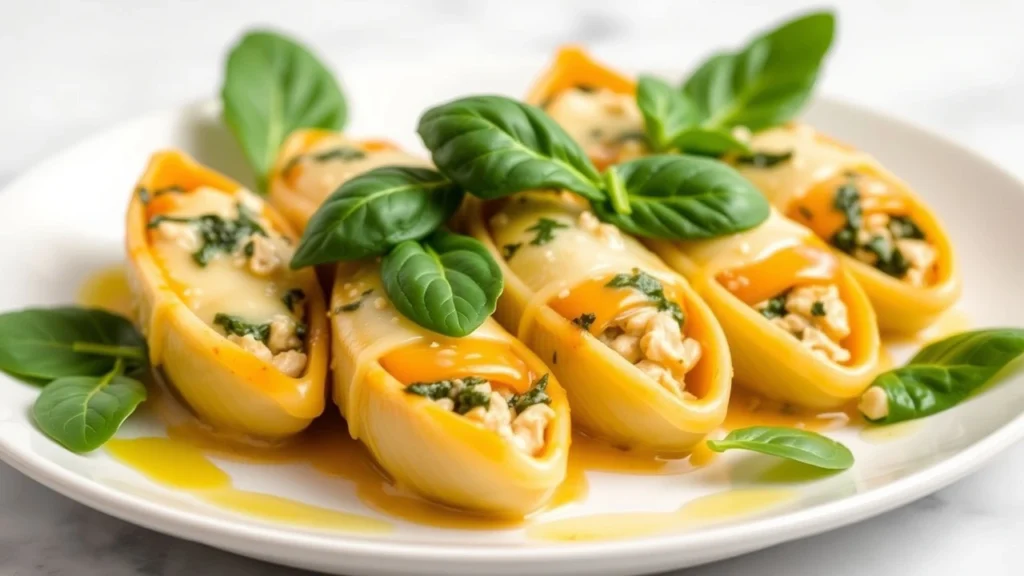
Buffalo Chicken Stuffed Shells Recipe
For those who enjoy a little heat, use shredded buffalo chicken as the filling. Drizzle some ranch or blue cheese dressing on top for a flavor-packed twist.
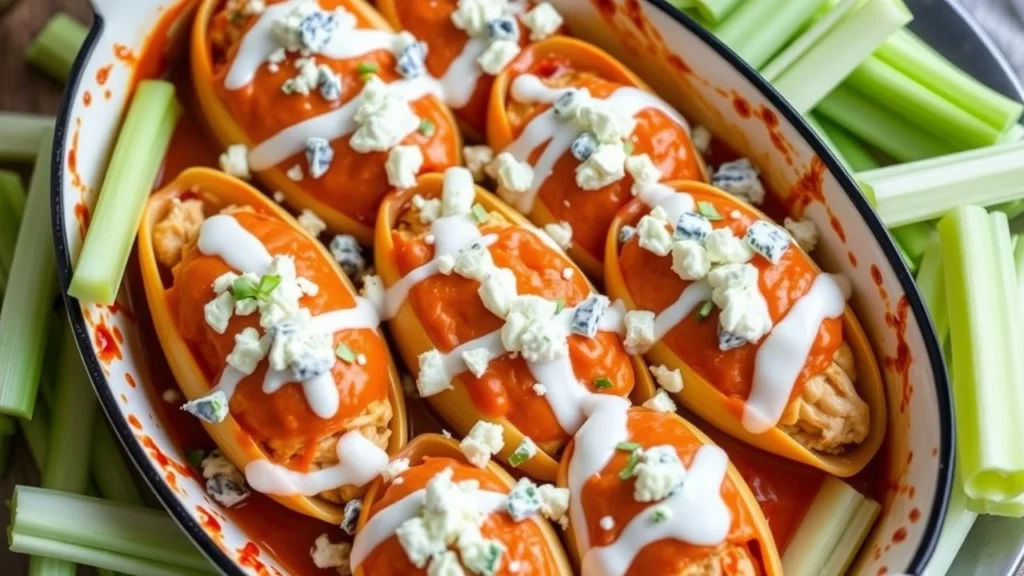
Vegetable Chicken Stuffed Shells Recipe
Incorporate vegetables like sautéed spinach, mushrooms, or bell peppers into the filling for added nutrition and flavor. This is an excellent way to sneak in some veggies for picky eaters.
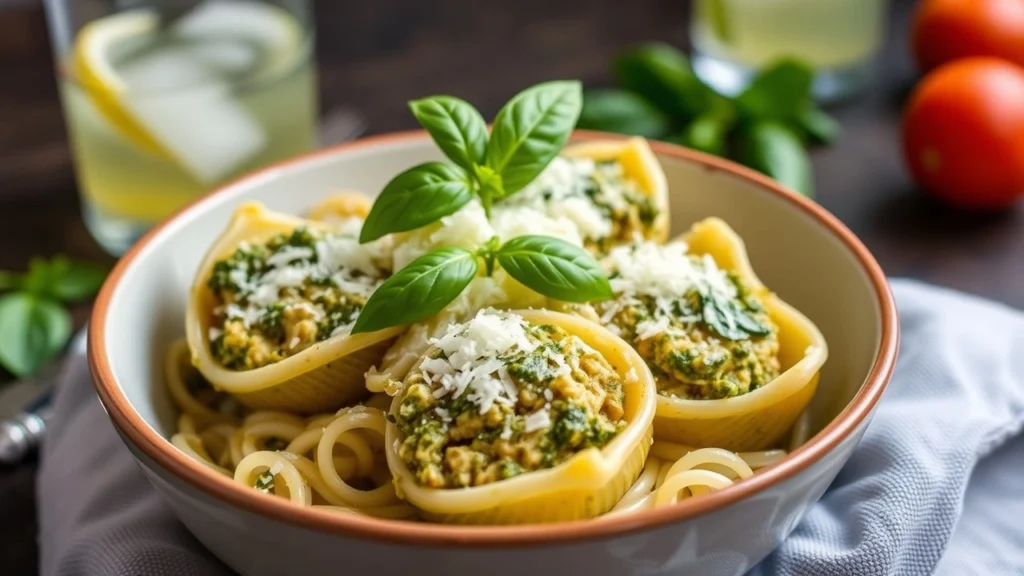
Pesto Chicken Stuffed Shells Recipe
Replace the sauce with a basil pesto for a fresh and aromatic flavor. This variation pairs wonderfully with grilled chicken.
Making Ahead and Storing Leftovers
How to Make Ahead
To save time during busy weeknights, you can prepare the stuffed shells in advance. After assembling, cover the baking dish tightly with foil and refrigerate for up to 24 hours before baking.
Storing Leftovers
If you have leftovers, store them in an airtight container in the refrigerator for up to three days. For longer storage, these stuffed shells can be frozen. Just make sure to freeze them before baking, and when you’re ready to eat, bake directly from the freezer—just add an extra 10-15 minutes to the baking time.
Reheating Instructions
To reheat, place individual servings in the microwave or warm in the oven at 350°F (175°C) until heated through.
Nutritional Information
Understanding the nutritional content of your meals can help maintain a balanced diet. Here’s a basic breakdown for one serving (based on a standard recipe):
| Nutrient | Amount per Serving |
|---|---|
| Calories | 400-500 |
| Protein | 30g |
| Fat | 20g |
| Carbohydrates | 40g |
| Fiber | 3g |
Note: Nutritional values may vary based on ingredient brands and specific quantities used.
FAQs About Chicken Stuffed Shells Recipe
Can I use ground chicken instead of shredded?
Absolutely! Ground chicken is a great alternative and can provide a different texture. Ensure it’s fully cooked before combining it with the other ingredients.
How can I keep the pasta from sticking together?
To prevent sticking, be sure to rinse the cooked shells under cold water after draining. You can also add a bit of olive oil to the water before boiling to help.
Can I make stuffed shells without cheese?
Yes, you can! If you’re looking for a dairy-free option, consider using vegan cheese or a mixture of pureed vegetables for a creamy texture.
What can I substitute for ricotta cheese?
If you’re out of ricotta, you can use cottage cheese, cream cheese, or a combination of Greek yogurt and mozzarella for a similar texture.
How long can stuffed shells be stored in the fridge?
Stuffed shells can be stored in the refrigerator for up to three days in an airtight container.
Common Mistakes to Avoid
- Overcooking Pasta Shells: Overcooked shells can become mushy. For optimal texture, cook them only until al dente.
- Under-Seasoning the Filling: Taste your filling and adjust the seasoning. This is your chance to add flavor!
- Not Allowing Time to Rest Before Serving: Letting the stuffed shells sit for a few minutes before serving allows the flavors to meld and makes them easier to serve.
Conclusion
This chicken stuffed shells recipe is not only a delicious meal but also a wonderful way to bring the family together. With its creamy filling and hearty sauce, it’s sure to be a hit at the dinner table. Feel free to experiment with various ingredients and flavors to personalize this dish. We encourage you to try this recipe and share your variations with us! For more delicious meat recipes, check out Taste Up Recipes. Enjoy your cooking adventure!

